Drawing Pet Portraits
Drawing pet portraits requires a few important considerations before I begin...
Source photographs
The source photograph is truly the most important part of creating a pet portrait. Understandably sometimes old pictures of pets are the only ones available and in this instance I will judge on an individual basis whether I think I can create a portrait that does your pet proud.
Although it is rare, I will sometimes even turn down a request to create a pet portrait. If I feel I can not do the animal justice and the end result will not be up to scratch I will suggest a different photo is taken. For advice about selecting your reference photo please click here.
Mock Up
If you are commissioning a group portrait of multiple subjects or want a particular crop of your photo I will provide a mock up. These help to make the most of your source photo and give you an idea of the layout. A few mock-ups will be sent to you for your approval before I begin.
Gridding
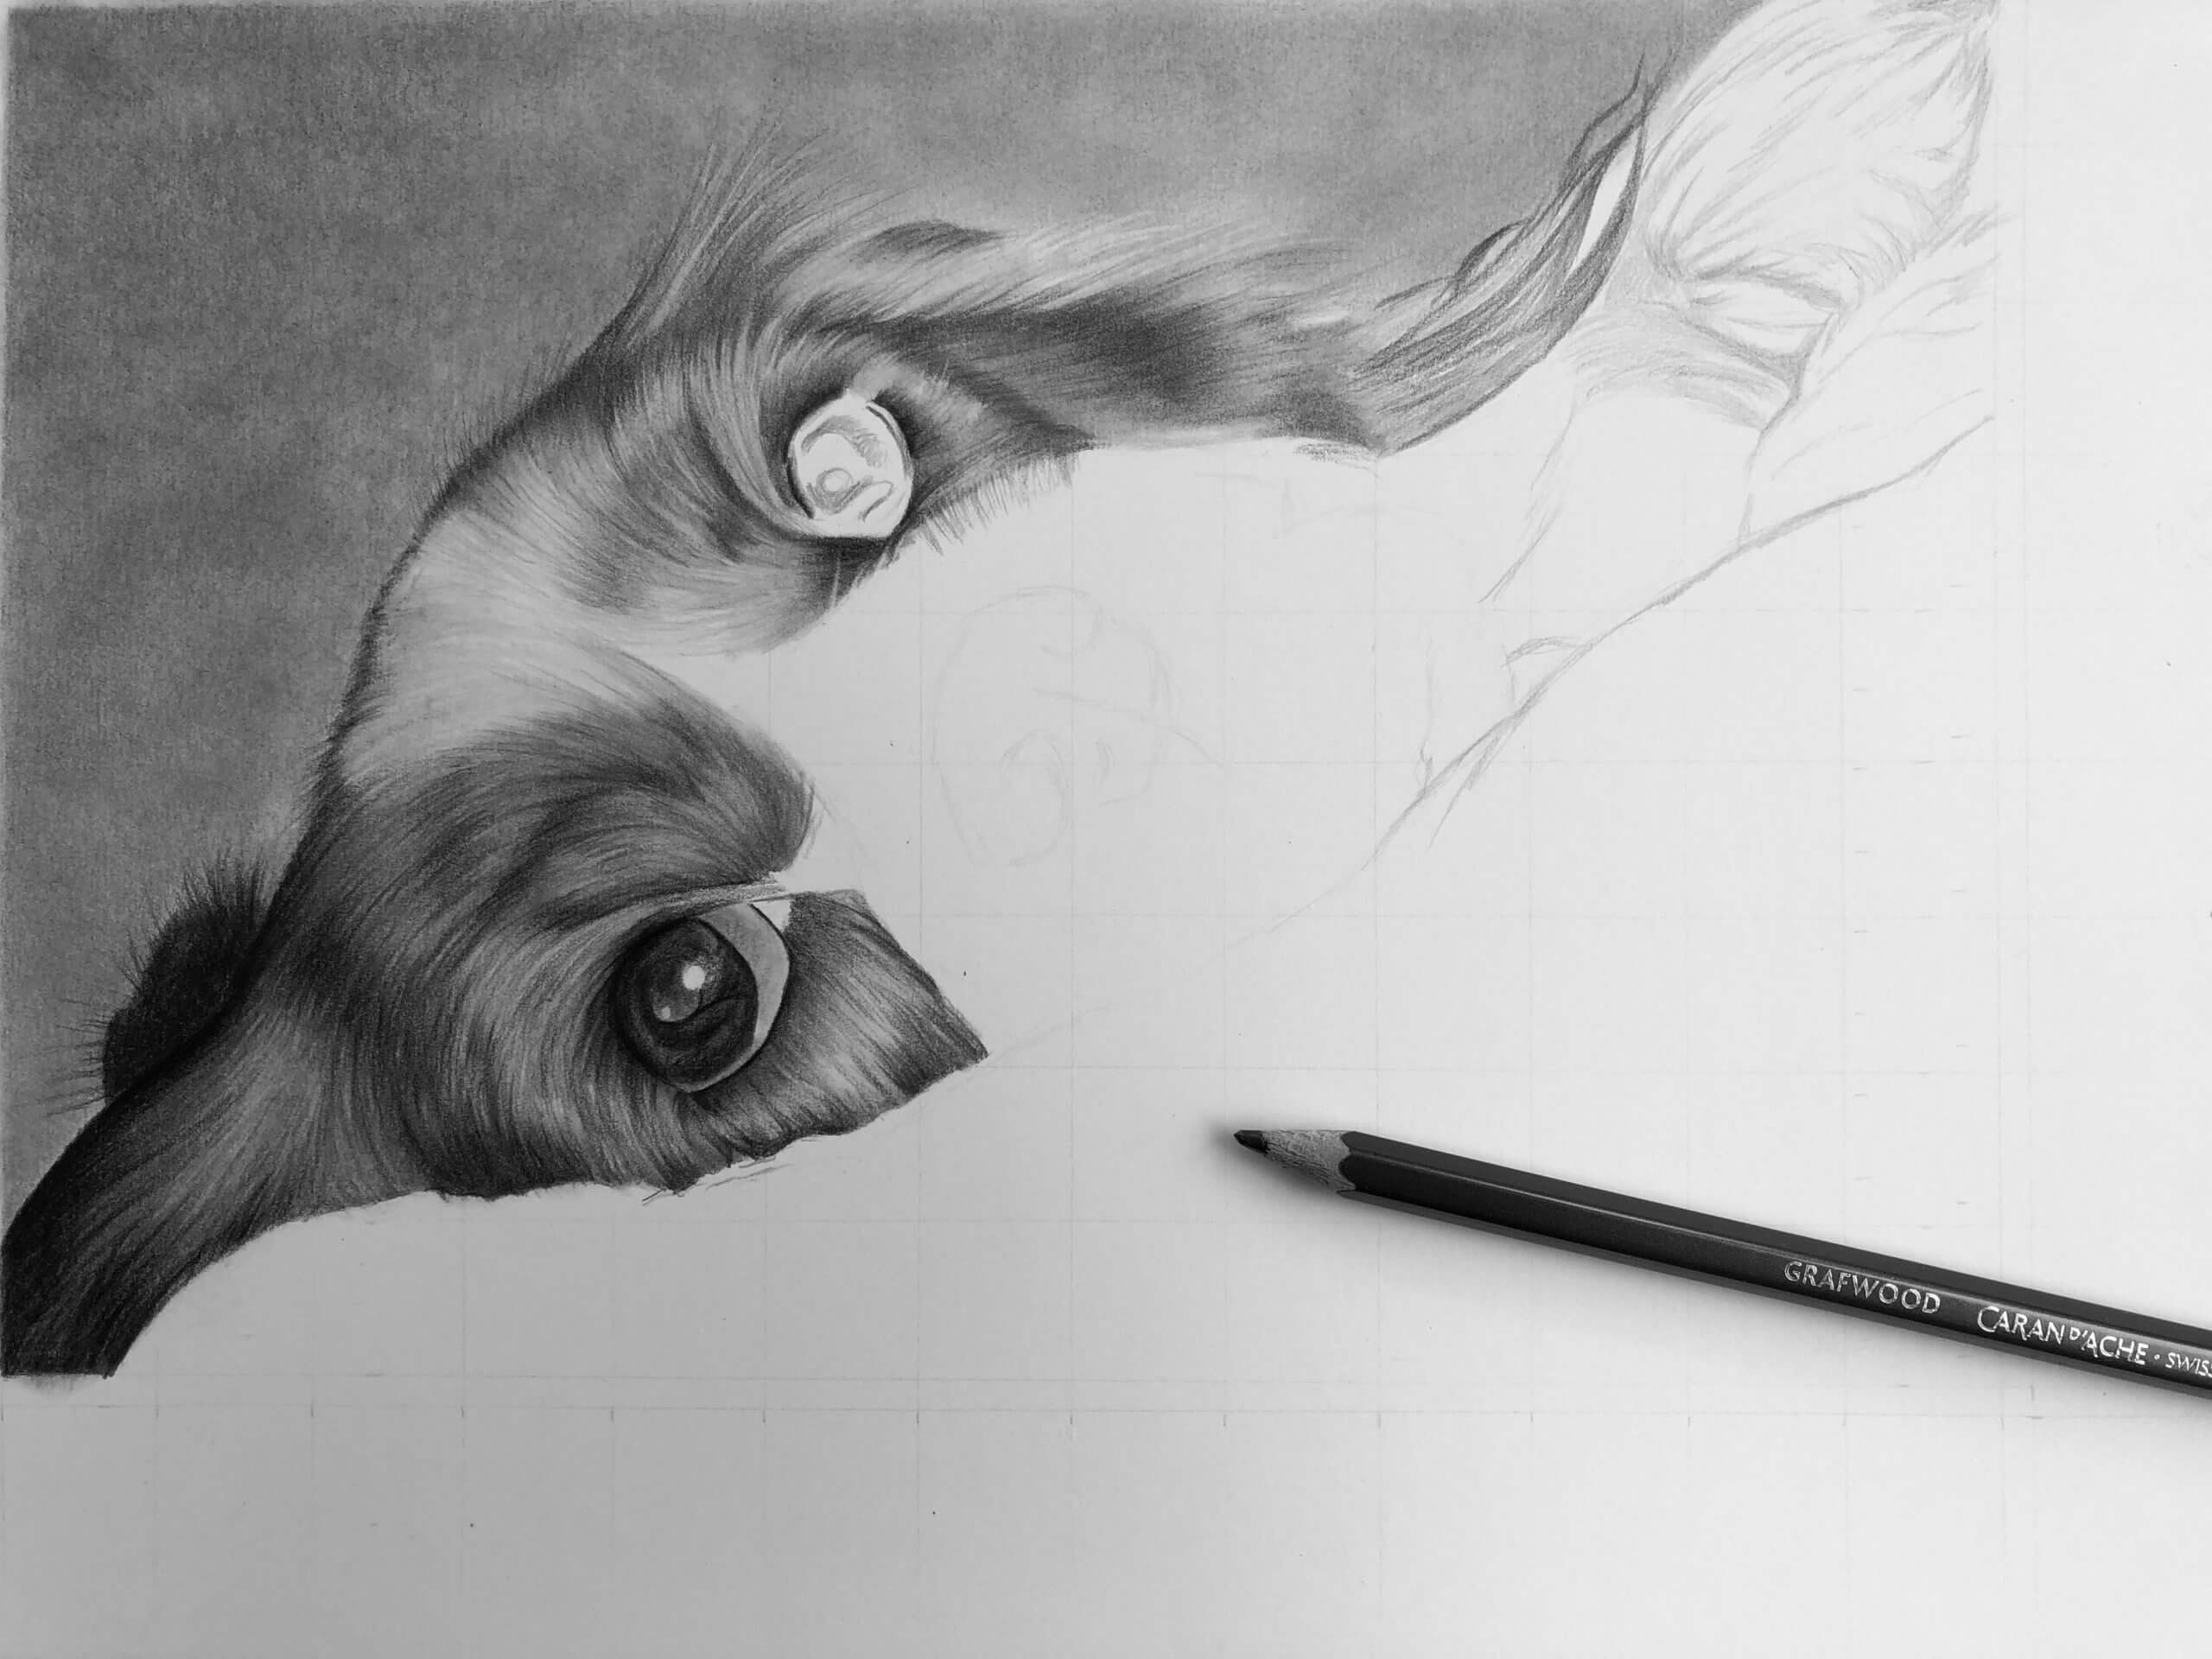
I use a gridding system when drawing pet portraits. For those who are not familiar with this, it is a way of making sure that the proportions of the drawing are correct. The reference photo is split into lots of squares (a grid) using an app. The paper is split into the same amount of squares using a very light pencil and then each square is drawn…simple! Oh…and I rub the grid out as I go.


Shadows/ Highlights
I always very lightly sketch out the main areas and outlines including highlights (such as the shine of fur) and shadows (the insides of ears etc). Layers are then built up, gradually adding more and more graphite to the darker areas and leaving the highlights brighter. I am constantly re-assessing the values of the drawing and often have to tweak the highlights and shadows at the end to make sure that the contrast is right. Usually a fresh pair of eyes on a new day will enable me to make new assessments of the work I still have to do.
Light
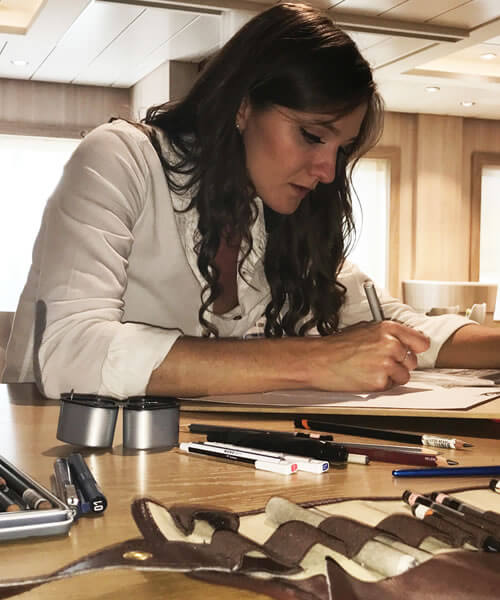
Natural light provides the best condition for drawing. However, during the winter (when it feels like the UK gets 5 minutes of sun) I use a large ring light which is fantastic to draw under and also great for filming.
Final stages
Once I am happy with the final piece I will send a photo to the customer. It is then signed, set using a spray fixative, scanned for my website and posted from my home in Hampshire, UK.
Other tips, tricks and random facts:
- Dog portraits and cat portraits are the most popular subjects for pet portraits. I have drawn one Llama portrait!
- I always draw from top left to bottom right because I am right handed. This way I avoid smudging the drawing with my hand.
- Tissue paper or a piece of tracing paper is great to lean on.
- I NEVER touch my paper with bare hands…well, I try not to. This is because grease from my fingers can transfer to the page and affects the way graphite/charcoal sits on the paper.
- My mono-eraser is my most prized possession. This is a tool much like a mechanical pencil but with rubber instead of lead. This allows me to erase very small areas.
- I drink litres and litres of tea when I draw…partially because I can’t sit still for very long and it gives me an excuse to get up!
Tools:
- Graphite pencils
- Black Coloured Pencil
- Mechanical pencil
- Mono Eraser
- Rubber
- 0.3mm ink pen
- Blending stubs
- Sand paper (to clean blending stubs)
- Cotton bud
- Tissue
- Sharpener
- Putty eraser
- Ruler

